How to Install Bearing Spacers on a Skateboard
If you want to build the best skateboard, you're going to have to learn to install skateboard bearings so you can upgrade them to a better/faster model.
In order to do that, you're also going to have to learn how to take bearings out of your existing skateboard wheels.
Luckily for you, we've put together this detailed tutorial featuring step by step instructions for both installing and removing bearings.
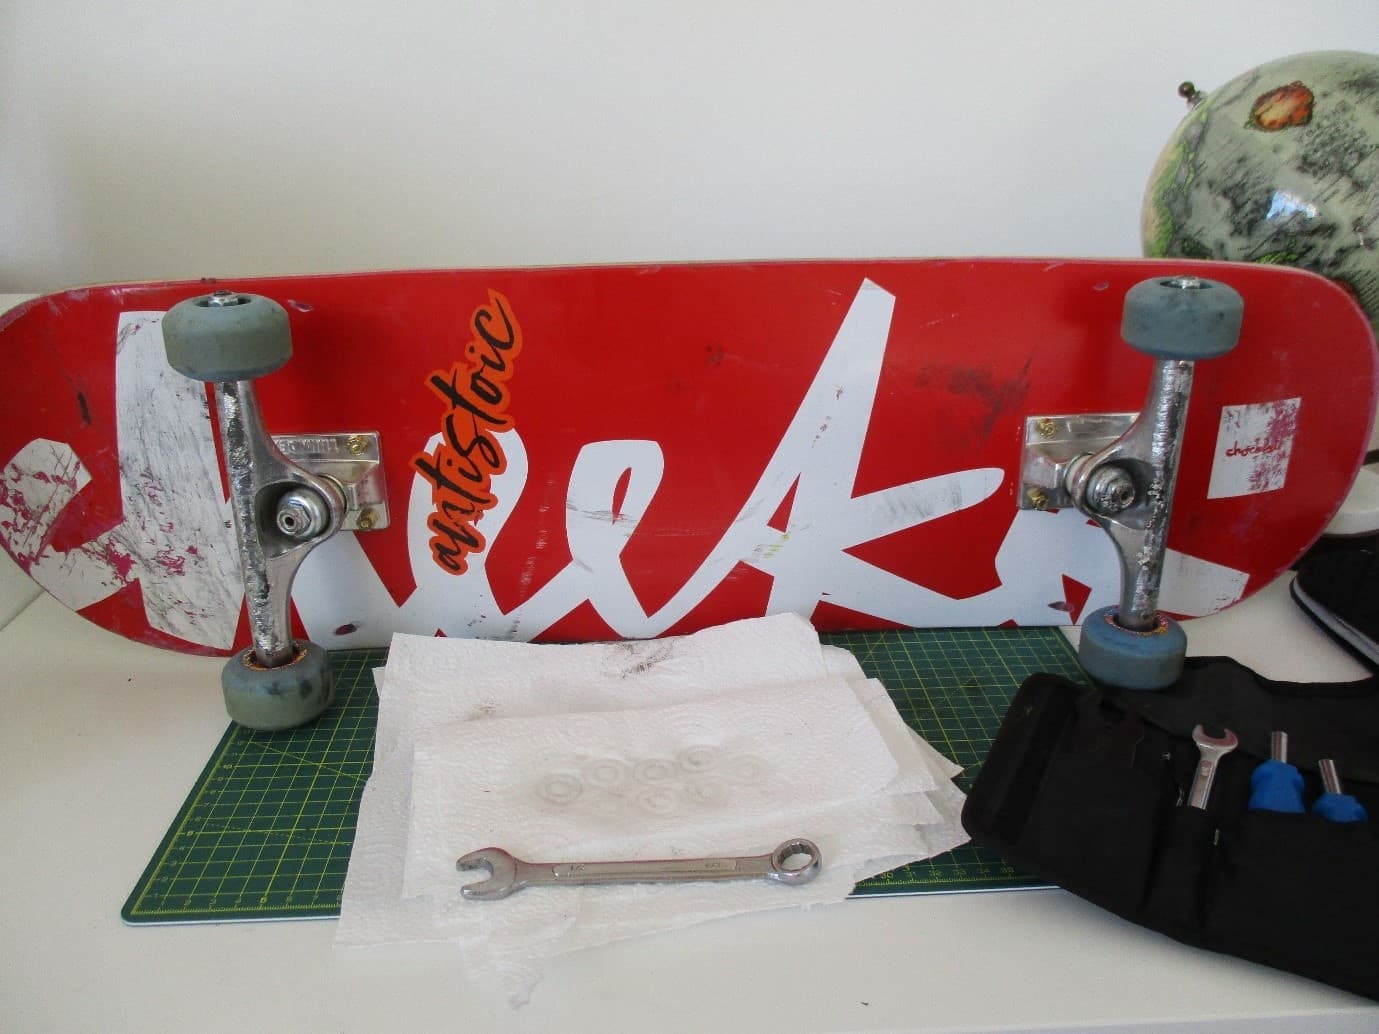
Bearing Assembly Basics
Before we get into how to install and remove your bearings, let's cover some bearing basics of two major components people completely forget about.
Bearing Spacers are not useless
To help your bearings through the daily abuse they take, it is a great idea to use spacers.
Spacers are designed to fit in between the two bearings on your axle.
Now spacers may not always fit exactly right; this is because skateboard wheels are never made to exacting tolerances.
But your spacers carry out a load of important functions;
They stop your wheels being loud, chattering and screeching noises are your bearings being pushed about inside the wheel. The loudness can be annoying, but it is a sign that you may be heading towards your bearings exploding, probably not something you want to happen mid-sesh or out on a road trip.
Your spacer will also make your bearings roll parallel to each other, even when your wheel is flexing about them. So if we go back to earlier and you have fitted ABEC 9 bearings, make sure you have a spacer in there. It is also how your bearing is designed to work so if you care about the ABEC rating, you better finish the job and fit the bits needed for them to work correctly.
Neither are Speed Rings/Washers
As well as the spacers, you will also want to be fitting the speed rings that came on your trucks.
When you are bolting on your wheels, the speed races will help to transfer this force through your wheels, rather than just ending on the bearing.
When you have fitted spacers and speed washers you can crank your wheels down to stop side to side movement, but without them, your wheel will just stop turning, and your bearings can get crushed as you tighten down.
How to Put Bearings in Skateboard Wheels
Fitting skateboard bearings is not hard, it most definitely is not rocket science.
We're starting this tutorial with no wheels applied to our trucks and our skateboard flat on its side.
It's probably wise to do this on top of a towel to avoid scratching the surface of the table/floor.
Step 1 – Pop the Washer on
Put a speed ring (washer) on your truck axle.
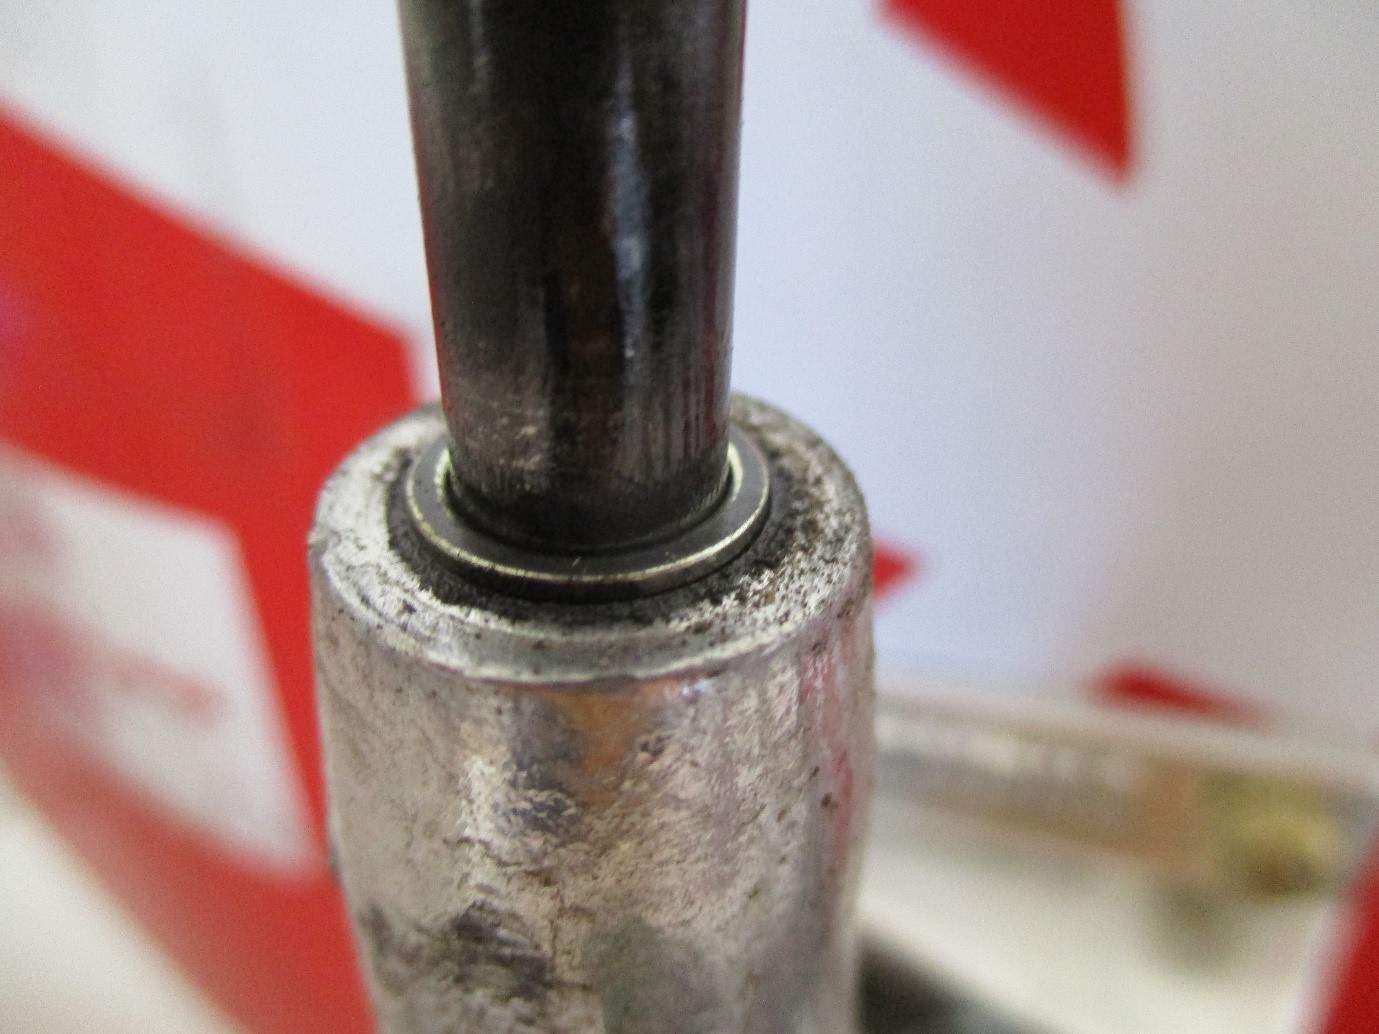
Step 2 – Place the 1st Bearing
Place your bearing on the truck axle.
If you have a shield put it on shield down.
If it has two shields (most bearings come like this) or shield-less just pop it on.
Now as we mentioned earlier your bearing bore is 8 mm and your axle is 7.9mm so your bearing should slide on. Any difficulty and you may have a bent axle and this means buying new trucks.
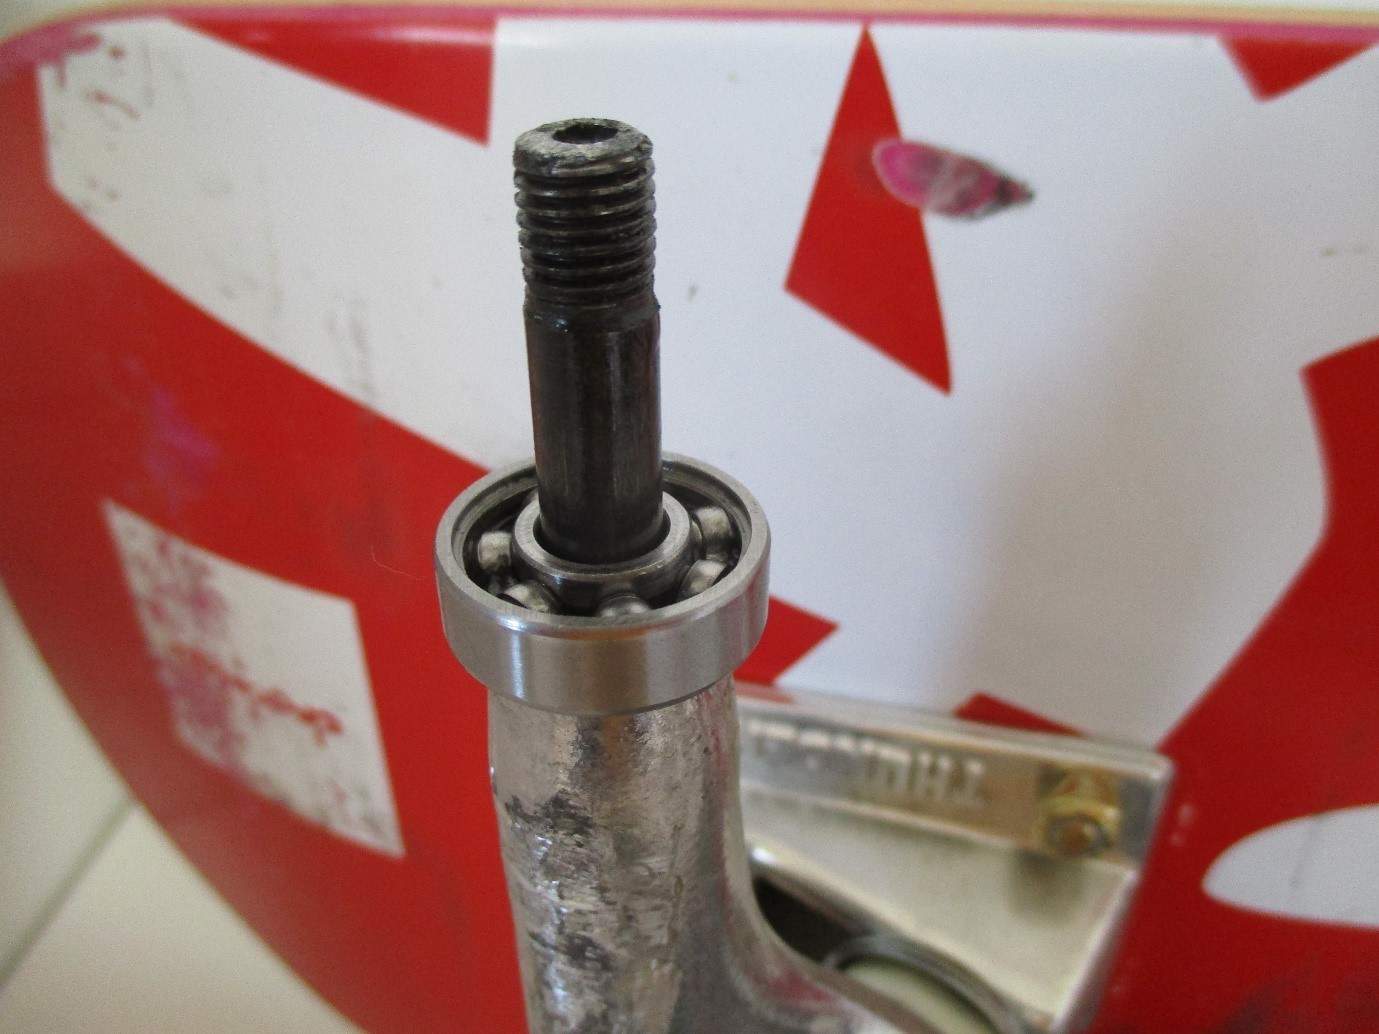
Step 3 – Pop the Wheel on
Place your wheel on the axle, on top of the bearing.
Press down with your hand, work the pressure around your wheel and push down hard.
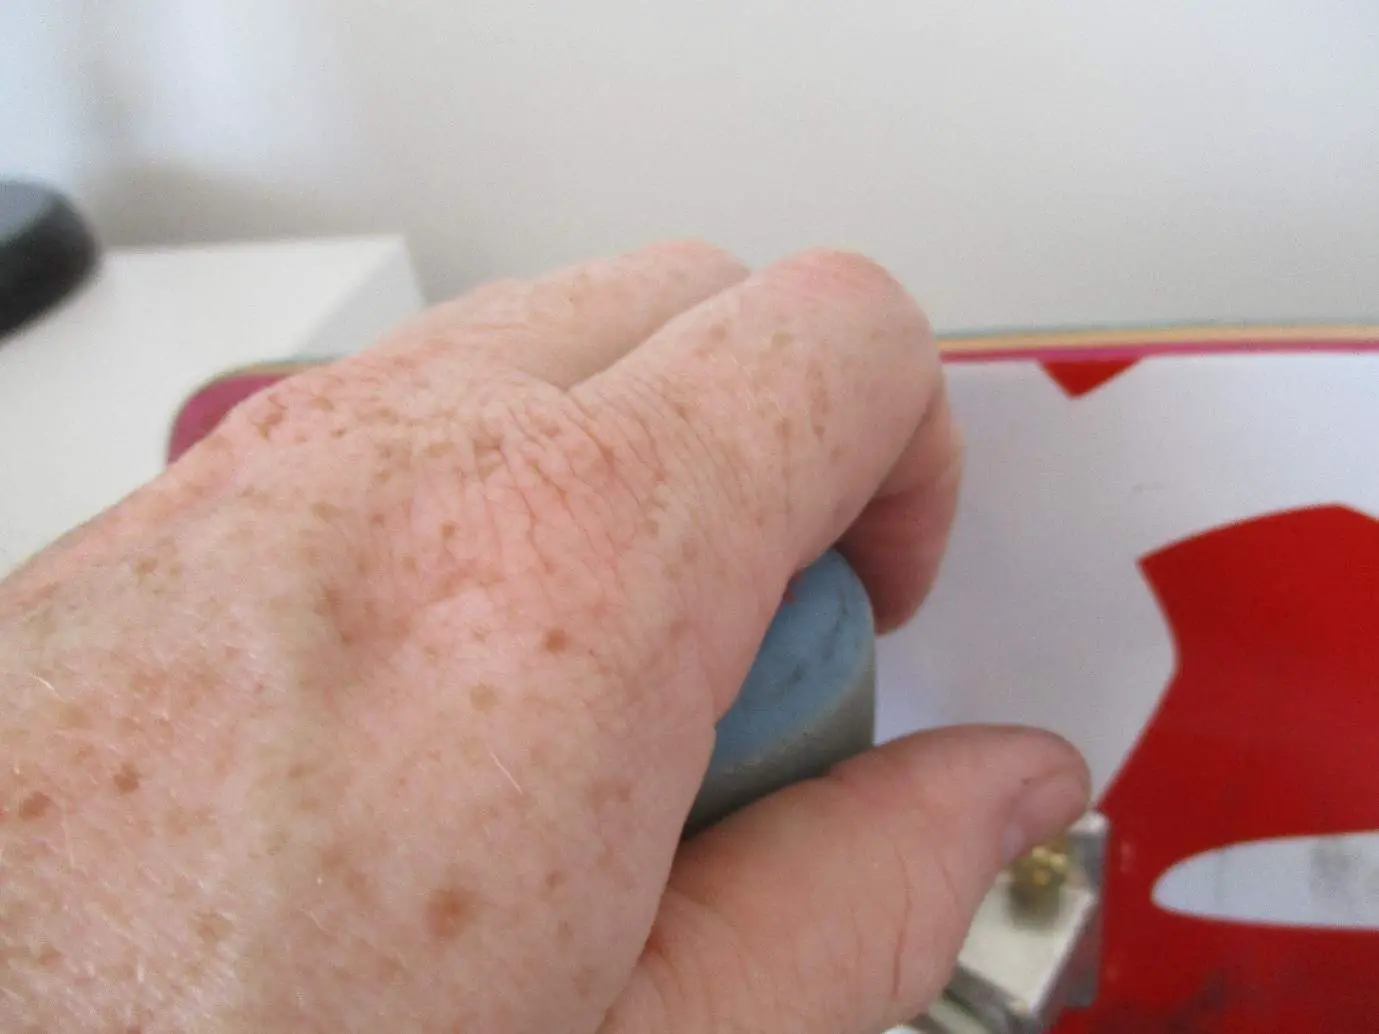
Step 4 – Place the 2nd Bearing
Take your wheel off and pop it to one side.
Place the 2nd bearing on the trucks axel along with a spacer.
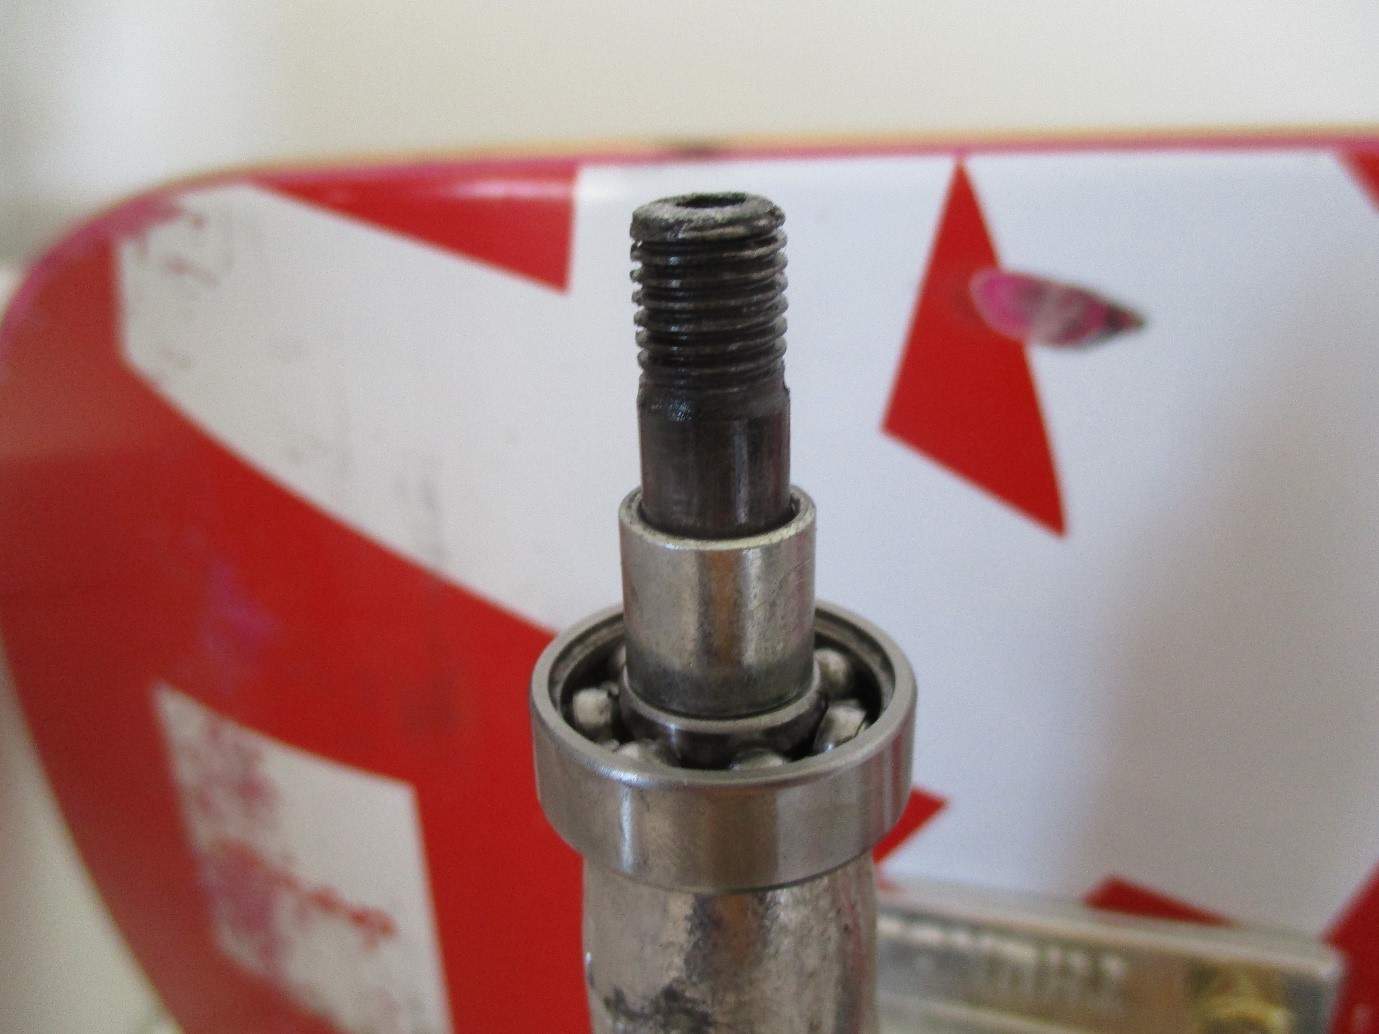
Step 5 – Pop the wheel on (again)
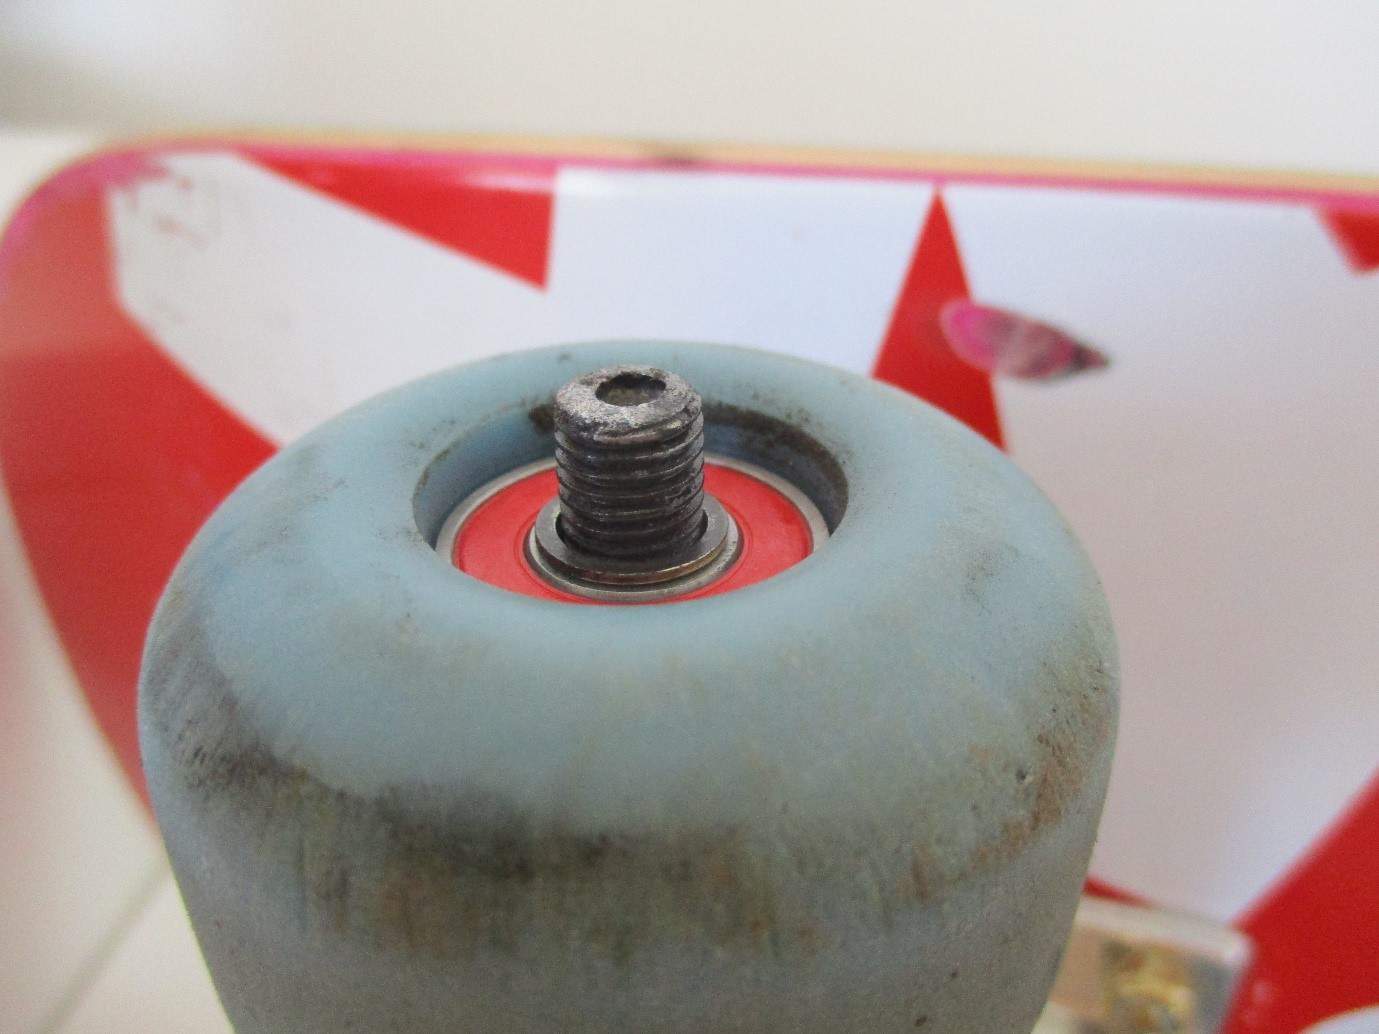
Place your wheel back on top of the 2nd bearing and press down.
Pop your second speed ring (washer) on.
You should have this view;
Step 6 – Tighten up the Nut
Pop the nut on.
Use your spanner or skate tool to tighten the nut.
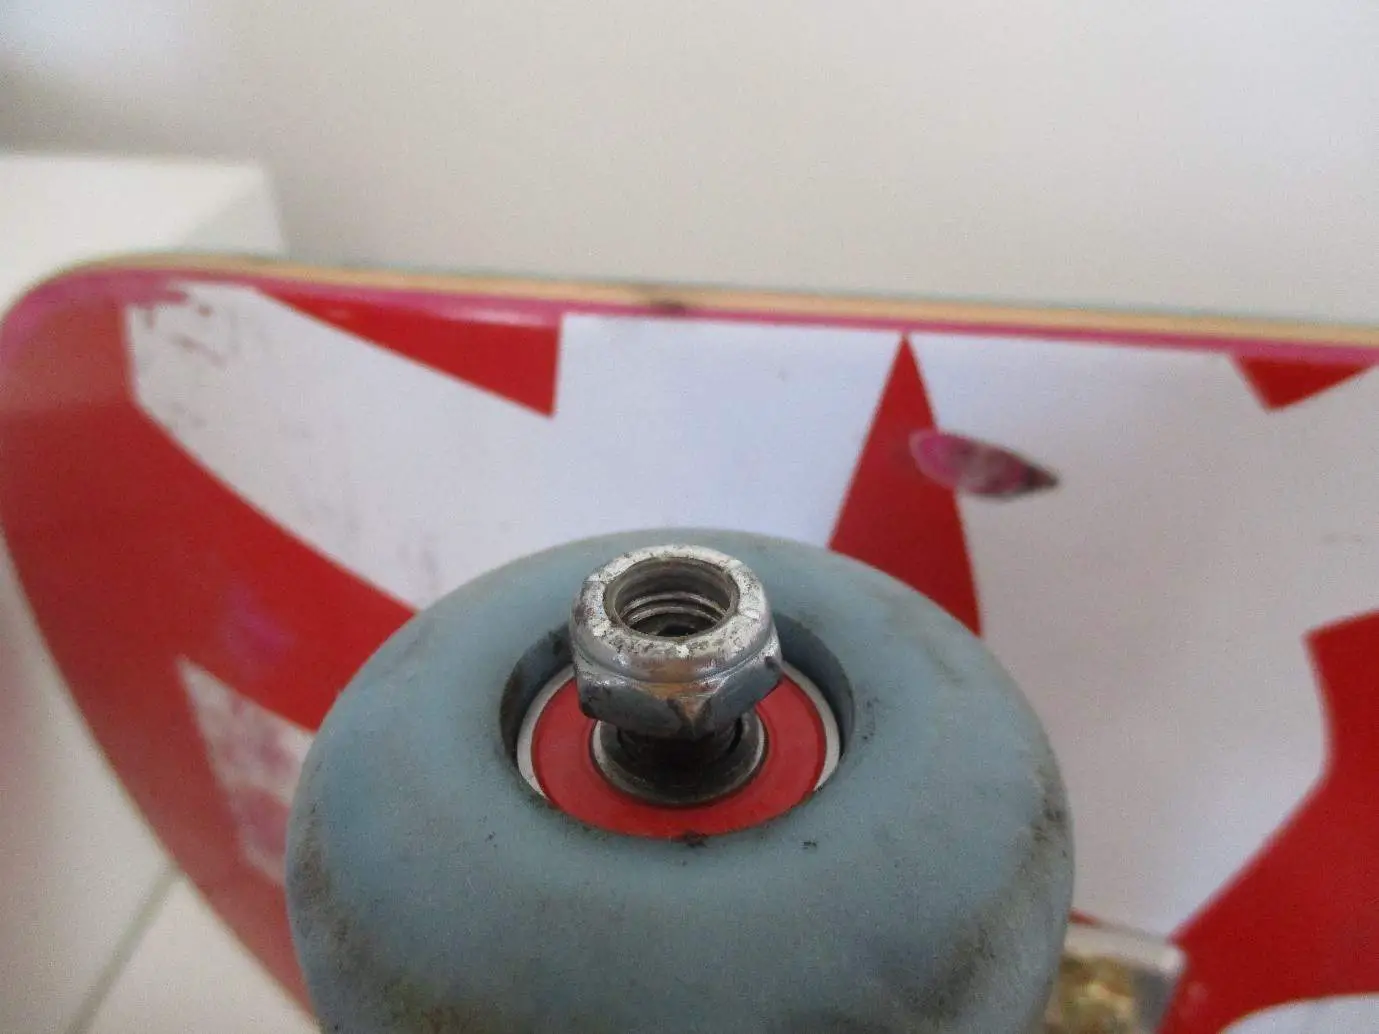
You want no side to side movement in the wheel, but you don't want to tighten it too much, as this can cause binding (where the wheel won't rotate).
Now do the same for the next three wheels
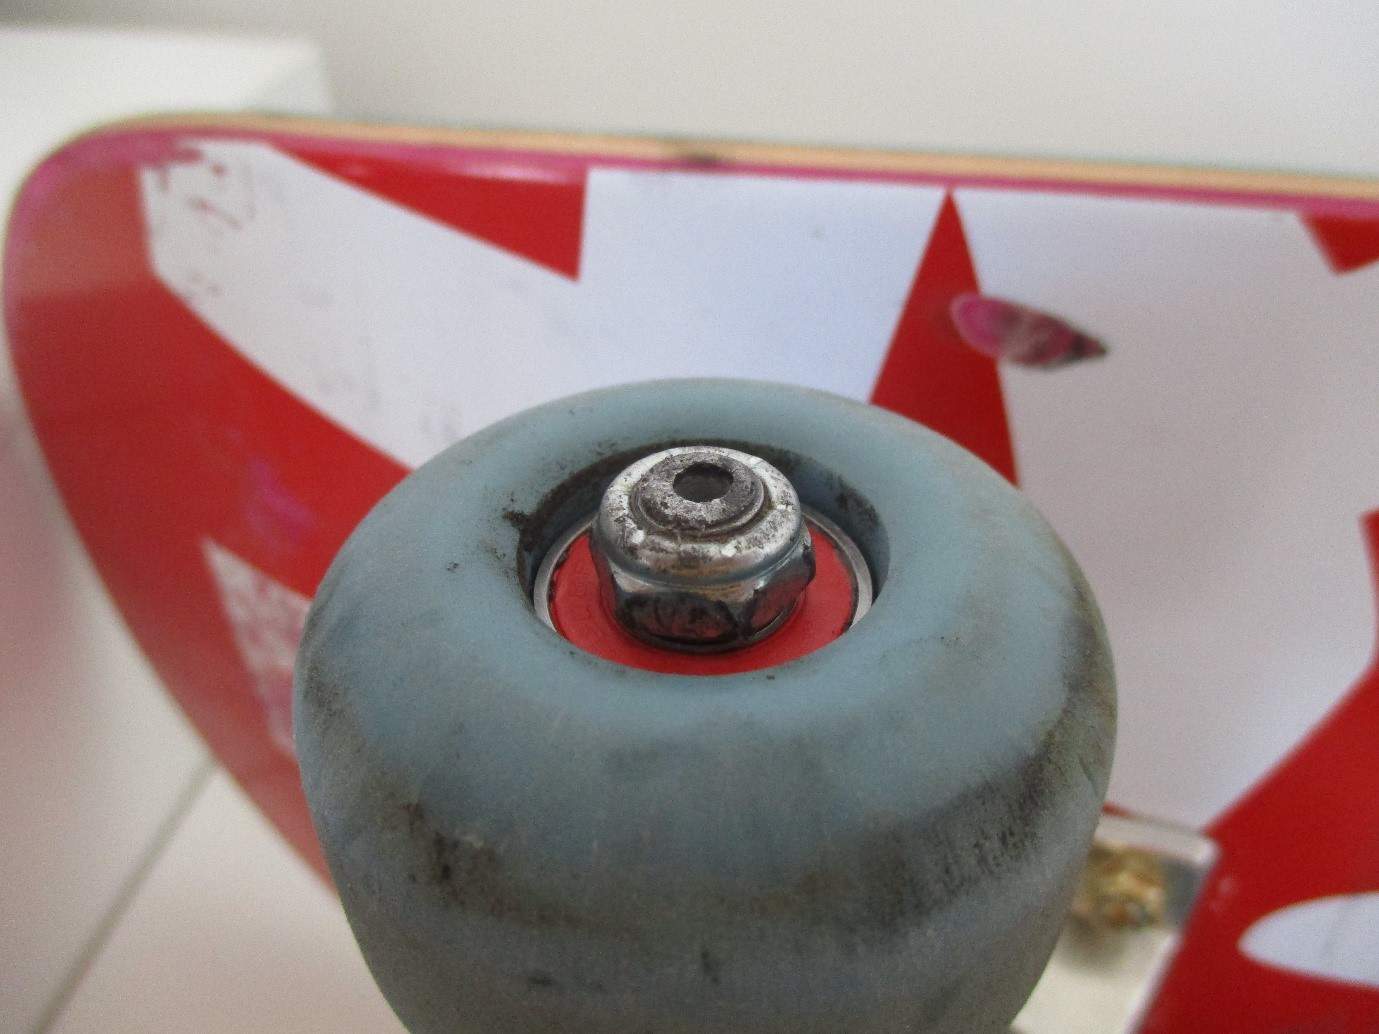
Complete!
Go shred.
Pretty easy right?
How to Remove Skateboard Bearings
Now you know how to install Skateboard Bearings, let's look at how easy it is to remove Skateboard Bearings.
Step 1 – Grab your board
Pop your board on its side.
As you can see below, skate wheels can get pretty dirty, this is because the oil used on the bearings creates a protective layer on top of them to stop dirt from getting in and damaging them.
It's probably worth following our guide on how to clean your bearings, to keep them running at optimum effectiveness.
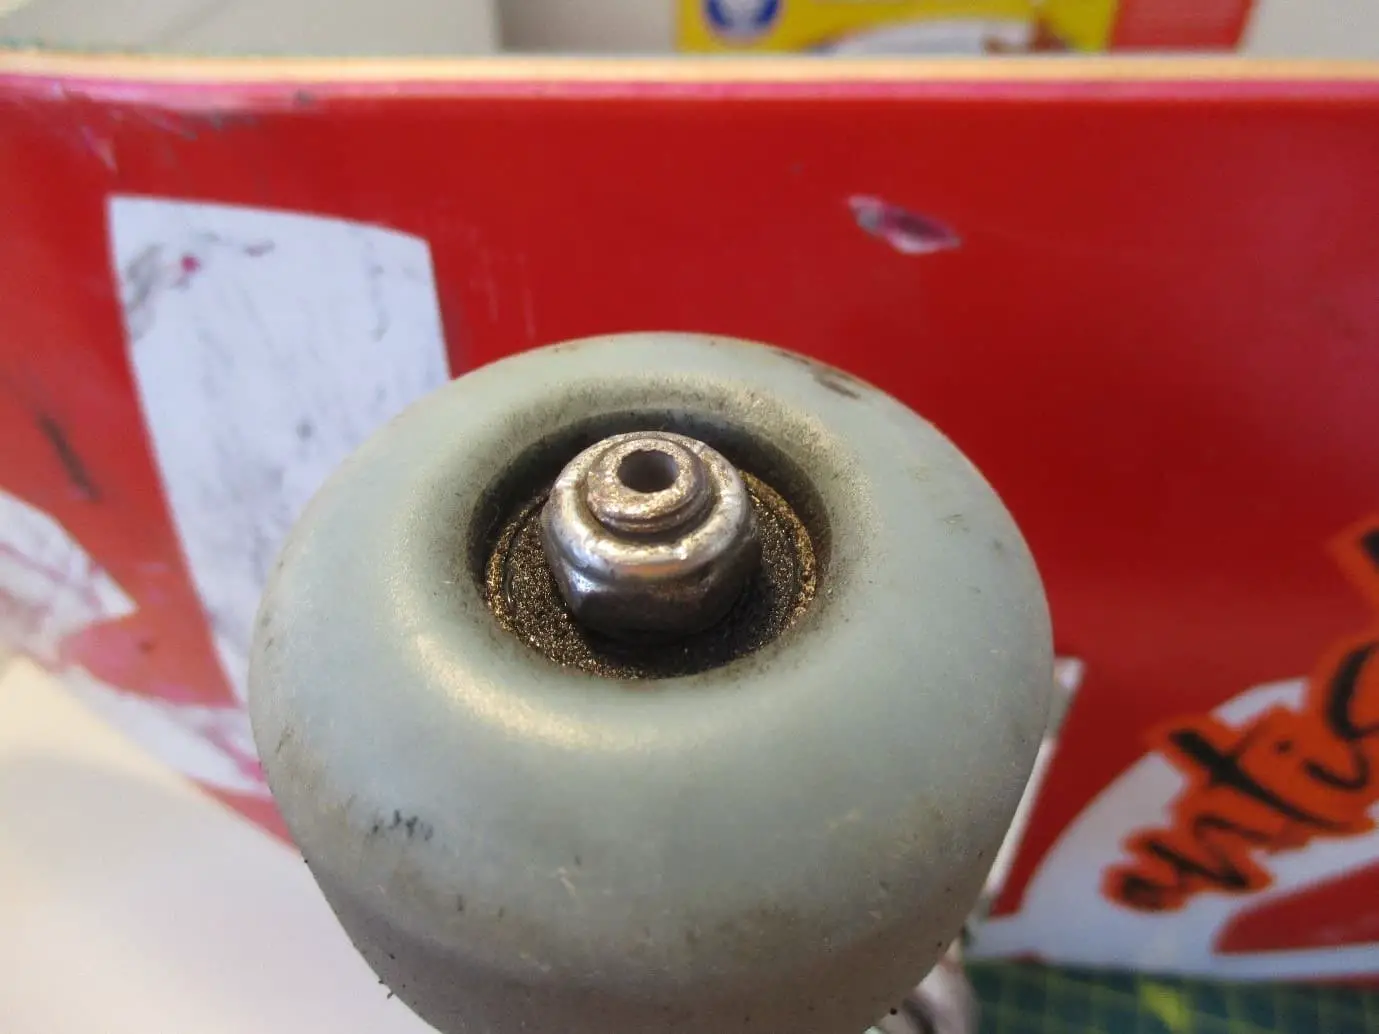
Step 2 – Unscrew the wheel nut
Use a spanner/skate tool to remove your wheel nut.
In case you forgot your axle is 5/16″-24tpi, and you will need a 1/2″ spanner to remove it, always try and use a ring spanner and not an open ended one.
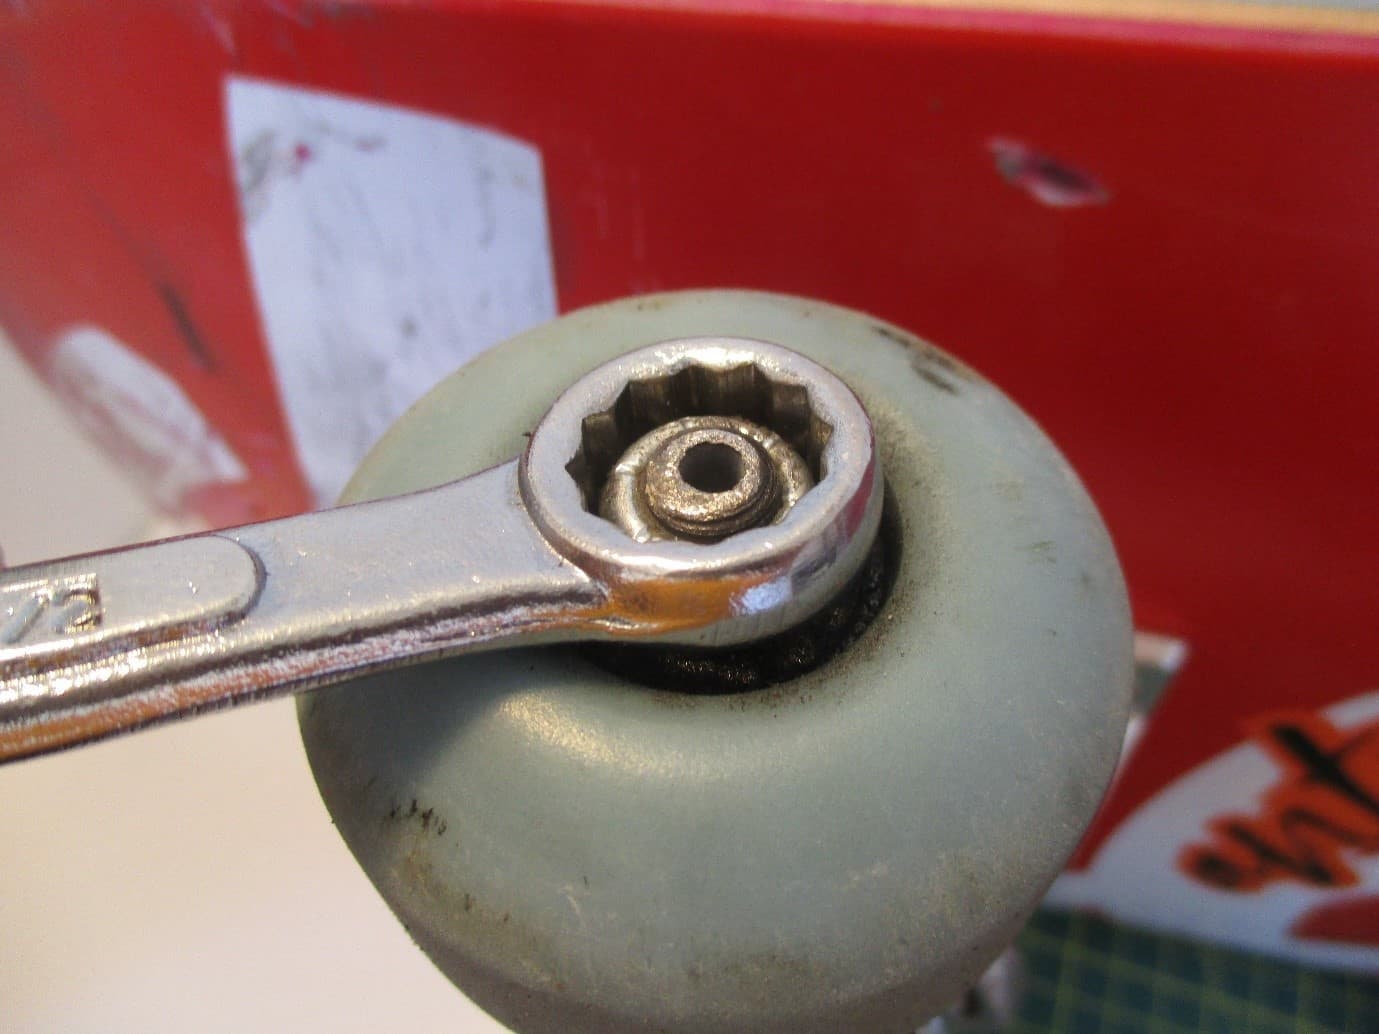
Step 3 – Remove the bearings
Once you have removed the nut and speed washer, lift the wheel up the axle to the tip of it and with a sideways motion lever the bottom bearing out.
You're going to need to use some force here, don't overdo it, but bearings are pretty tough.
Turn the wheel around and repeat on the other three wheels.
Disclaimer, we won't be held responsible if you screw up your bearings doing this!

Complete!
That's it!
That was also pretty easy right?
Summary
Now you know how to both install and remove skateboard bearings there's nothing stopping you going and replacing the duds that came with your original complete skateboard.
Remember, it is important to maintain your bearings, even if they are the best quality in the world, so we've put together another handy guide to show you how to do this.
How to Install Bearing Spacers on a Skateboard
Source: https://entirelyextreme.com/how-to-install-remove-skateboard-bearings/